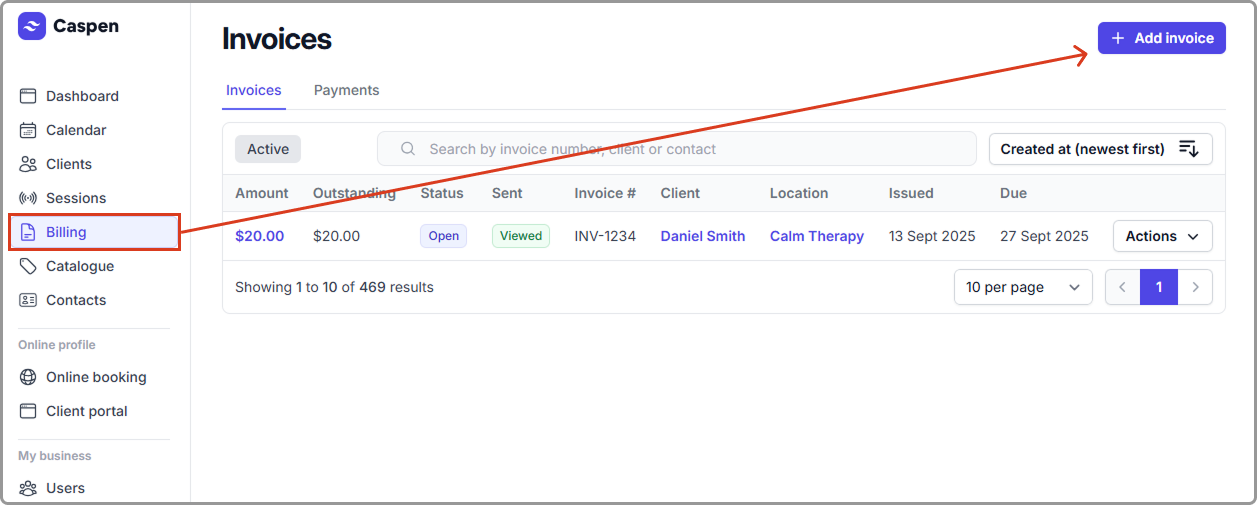
> For the complete documentation index, see [llms.txt](https://support.caspen.com/llms.txt). Markdown versions of documentation pages are available by appending `.md` to page URLs; this page is available as [Markdown](https://support.caspen.com/using-caspen/billing/invoices/add-products-to-an-invoice.md).
# Add products to an invoice
Boost revenue by offering clients products in person. Learn how to add products to an invoice.
## Getting started
Selling products in person allows you to complete transactions directly with clients by simply adding one or more products to an invoice.
{% hint style="warning" %}
**Permissions** Ensure you have permission to manage invoices and payments (access to the Billing tab in the left hand menu). If you’re a team member, request access from your account owner.
{% endhint %}
***
## Add products to an invoice
1. **Open an invoice**\
Go to **Billing** and select **Add invoice**, or open an **existing invoice** you want to add products to.
2. **Fill the invoice header**\
Select **Client**, (optional) **Invoice to**, **Practitioner**, **Location**, **Issue date**, and **Due date**. Click **Continue**.
3. **Add a product**\
In **Items**, select **Add item**, then choose **Product**.
4. **Choose from your catalog**\
Pick the product from the list. If the product has an image, it appears next to the item.
5. **Edit the line (optional)**\
Select the added product to change **price**, **quantity**, **discount** (amount or percent), or **tax rate**. To remove it, select **Remove item**. Select **Save**. *Edits here affect this invoice only and do not change the product itself.*
6. **Finish the sale**\
Apply a **payment** to the invoice, leave as a draft, or **finalize and send** the invoice to your client.
> **Note:** If **Track stock quantity** is on, adding a product to an invoice reduces stock automatically.
***
## Frequently asked questions
Where does the product image show?
The image appears in your product catalog and in the Add product picker when building an invoice. Note: It does not appear on the invoice itself (PDF, print, or client view).