> For the complete documentation index, see [llms.txt](https://support.caspen.com/llms.txt). Markdown versions of documentation pages are available by appending `.md` to page URLs; this page is available as [Markdown](https://support.caspen.com/using-caspen/settings/appointments/manage-busy-time-types.md).
# Manage busy time types
Add and manage busy time types for your calendar.
You can add reusable busy time types (with a preset name, emoji, and default duration) from the calendar or from **Settings**.
***
## Add a busy time type from the calendar
If you need a type you can use again:
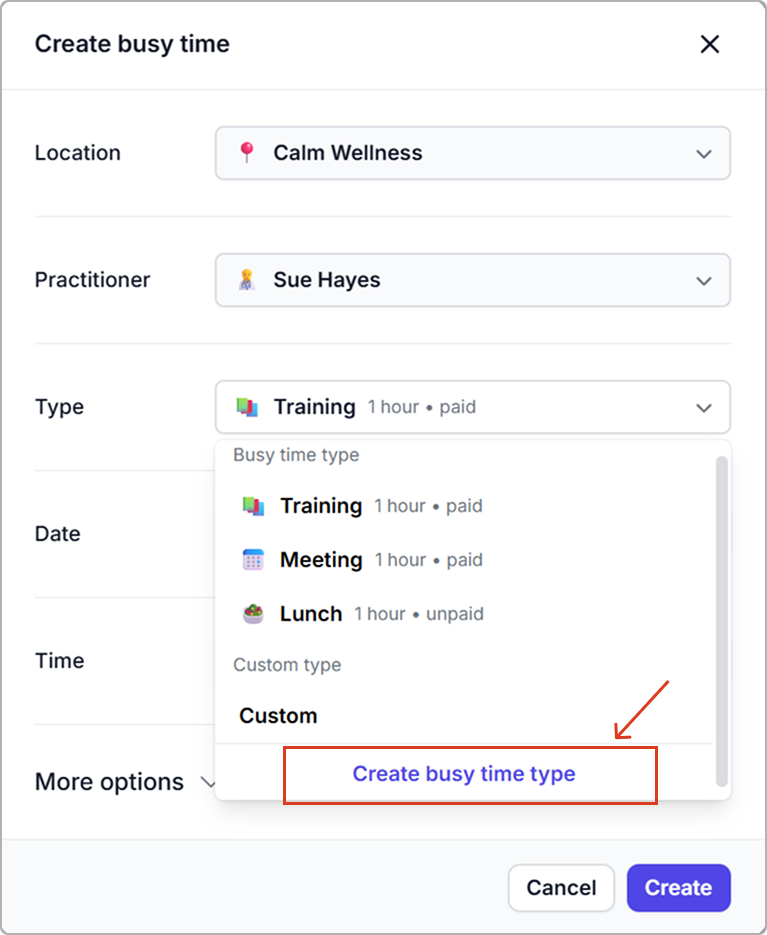
1. When adding a busy time in the calendar, open the **Type** dropdown and choose **Create busy time type**.
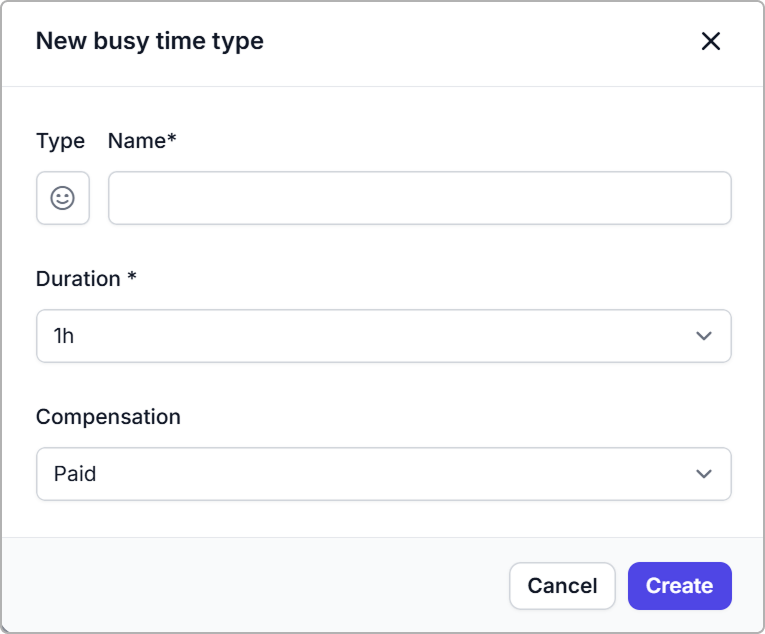
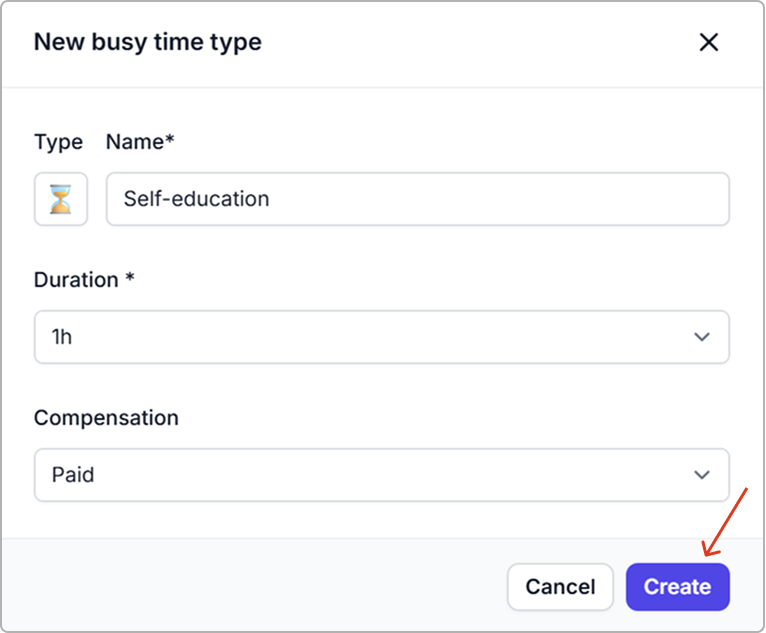
2. Enter a **name**, select an **emoji**, set a **default duration**, and mark **Paid** or **Unpaid**.
3. Click **Create**.
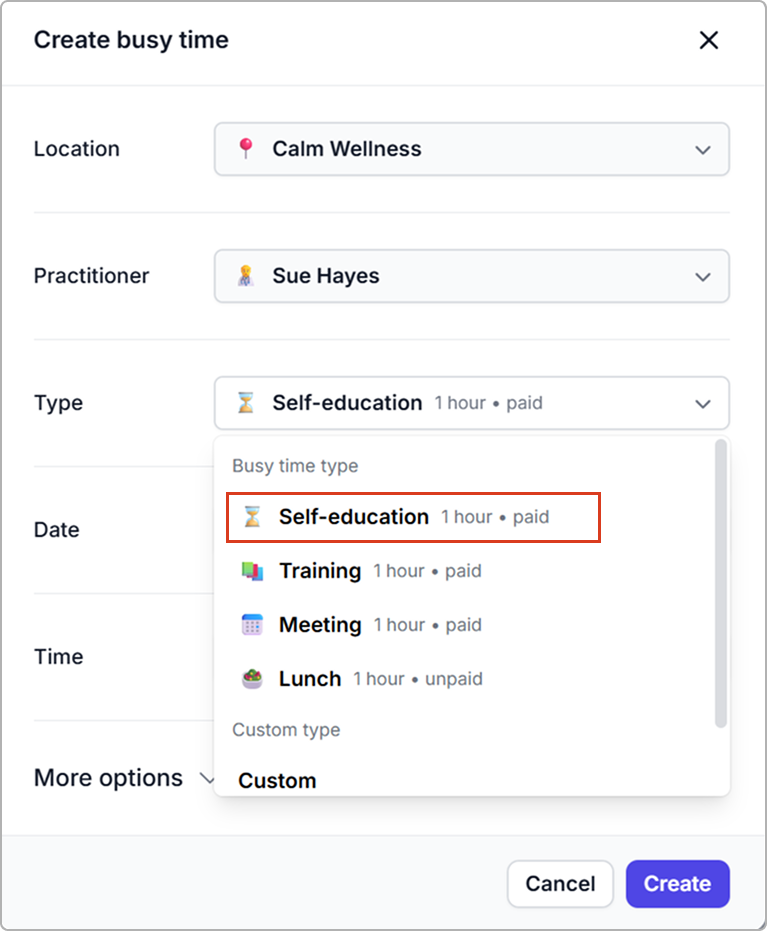
The new type appears in the Busy time type menu in the calendar.
**Result**
* The new type appears in the **Busy time type** menu in the calendar.
* It is also added to **Settings → Busy time types**.
***
## Add a new busy time type from settings
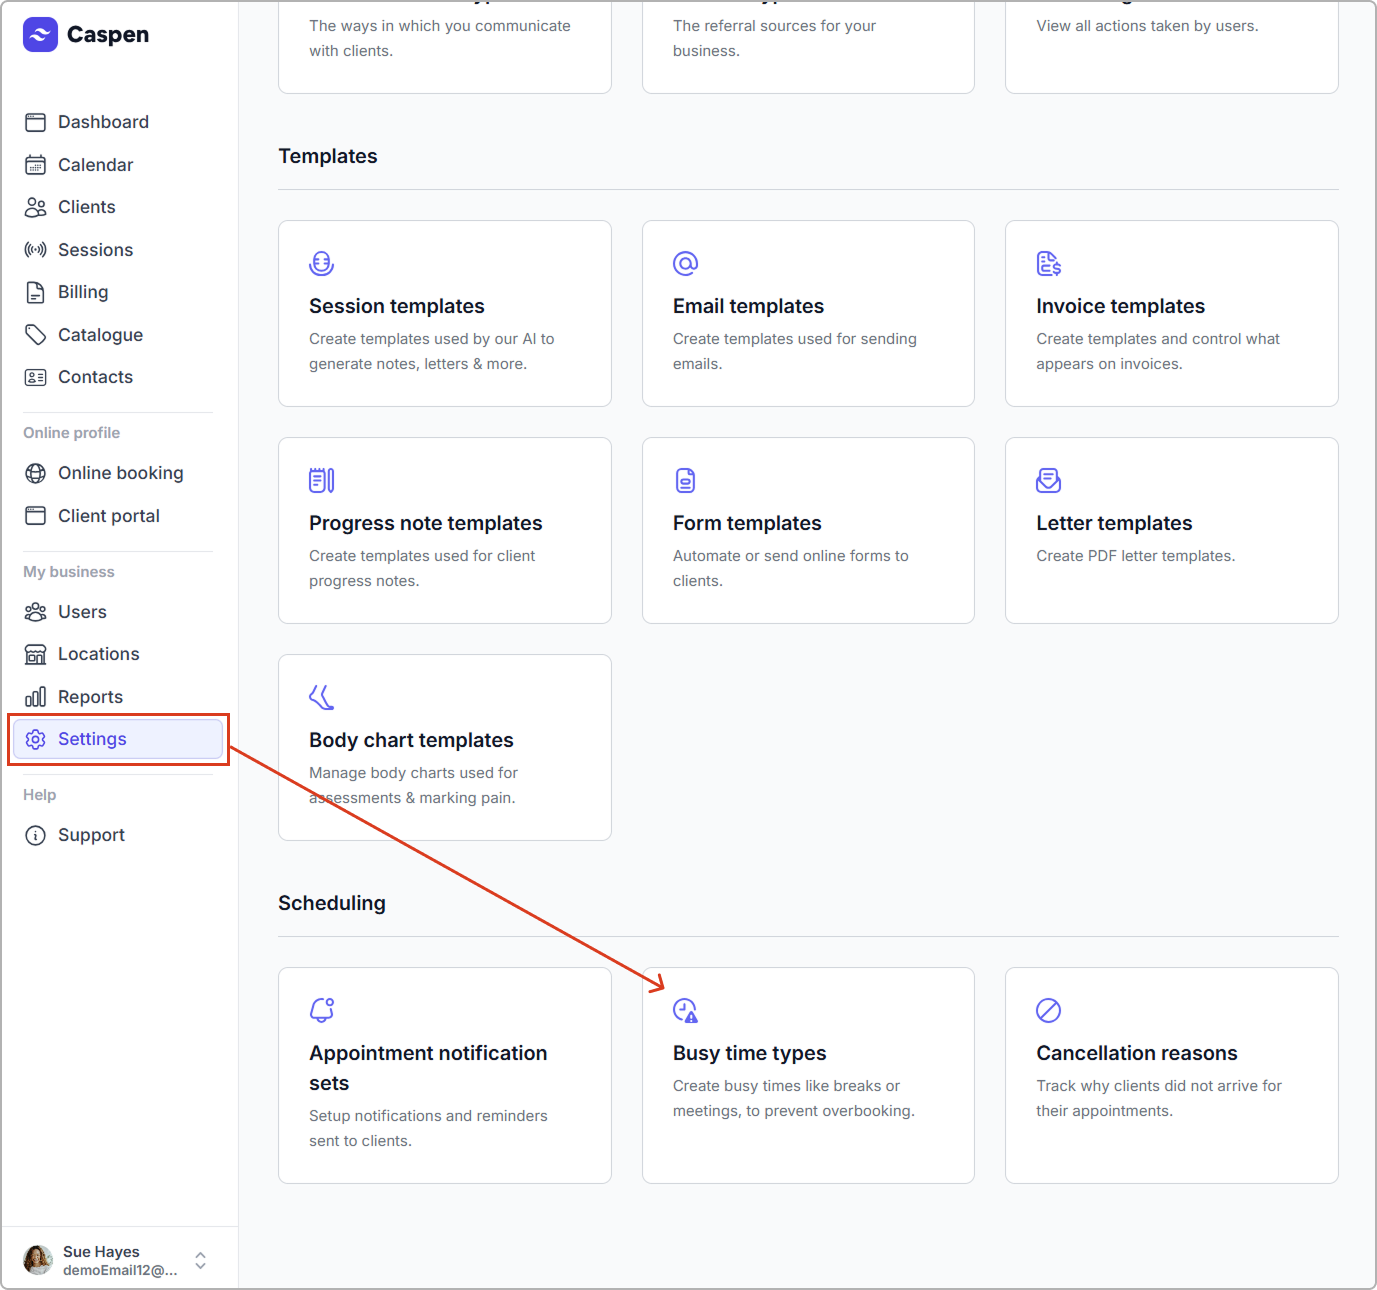
1. Go to **Settings** → **Busy time types**.
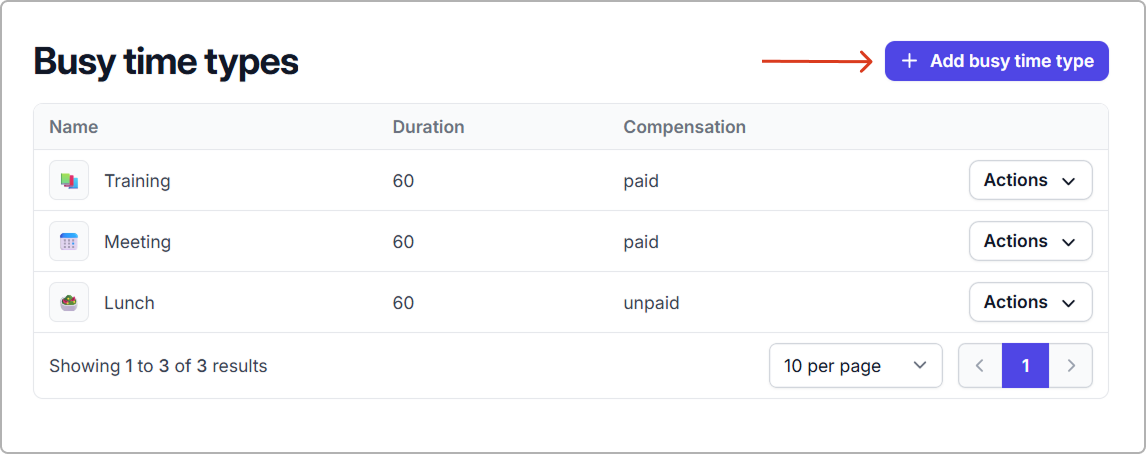
2. Click **Add busy time type**.
3. Complete the fields (see **Fields reference** below) and click **Create**.
**What happens**
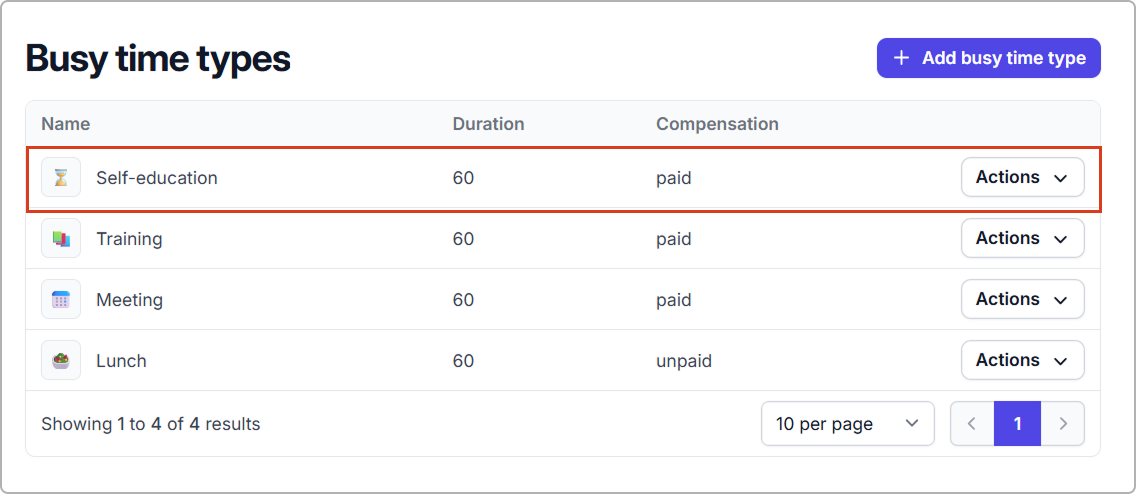
* The new type is added to your list and appears immediately in the **Busy time type** menu when creating a busy time in the calendar.
* Changing a type later updates the defaults for future entries. Existing busy times are not changed.
### Fields reference
| Field | Description |
| ------------ | ----------------------------------------------------------------------------------------------------------- |
| Name | The label shown in the calendar. |
| Emoji | Optional icon to help you spot the busy time quickly. |
| Duration | The default length used when you select this type. You can override this when adding a busy time if needed. |
| Compensation | Choose to mark the busy time as Paid or Unpaid. |
***
## Edit a busy time type
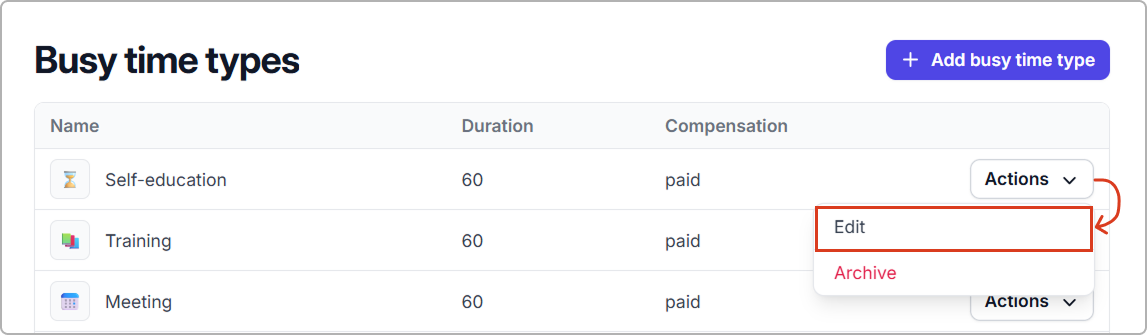
1. Go to **Settings** → **Busy time types**.
2. Find the busy time type, click **Actions** → **Edit**.
3. Make your changes, then click **Save**.
***
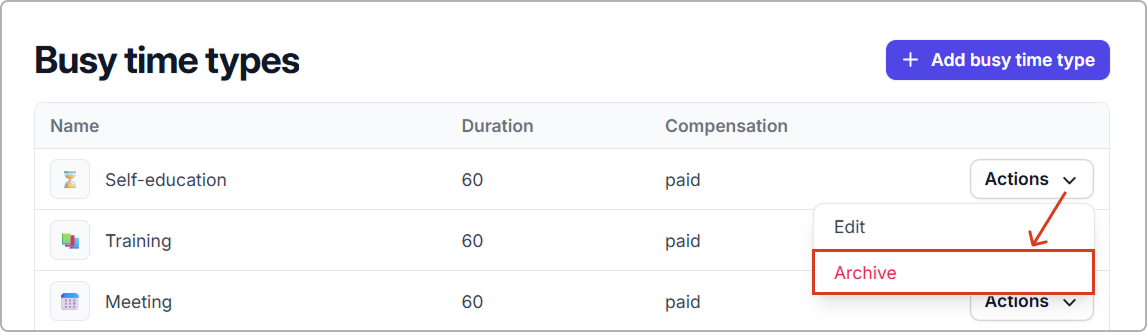
## Archive a busy time type
1. Go to **Settings** → **Busy time types**.
2. Find the type, click **Actions** → A**rchive**.
**Result**
* The type is removed from your list and from the **Busy time type** menu, so it cannot be used for new entries.
* Existing busy times that used it remain in history.
***
## Frequently asked questions
What’s the difference between Custom (chosen in the calendar) and Create busy time type?
**Custom** creates a **one-off** busy time. You set the name **just for this entry** and it isn’t saved for reuse. **Create busy time type** makes a **reusable template** with a name, emoji, default duration, and paid/unpaid setting that appears in the **Busy time type** dropdown for all future entries.
Can I remove a busy time type?
Archive it: **Settings → Busy time types → Actions → Archive**. The type is removed from the dropdown, but existing entries that use it remain in history.